Showing posts with label Feathers. Show all posts

2.01.2017

Machine Quilting: Downton Abbey

Karen is probably by far the biggest Downton fan I know and she has made a ton of quilts using their fabric lines.
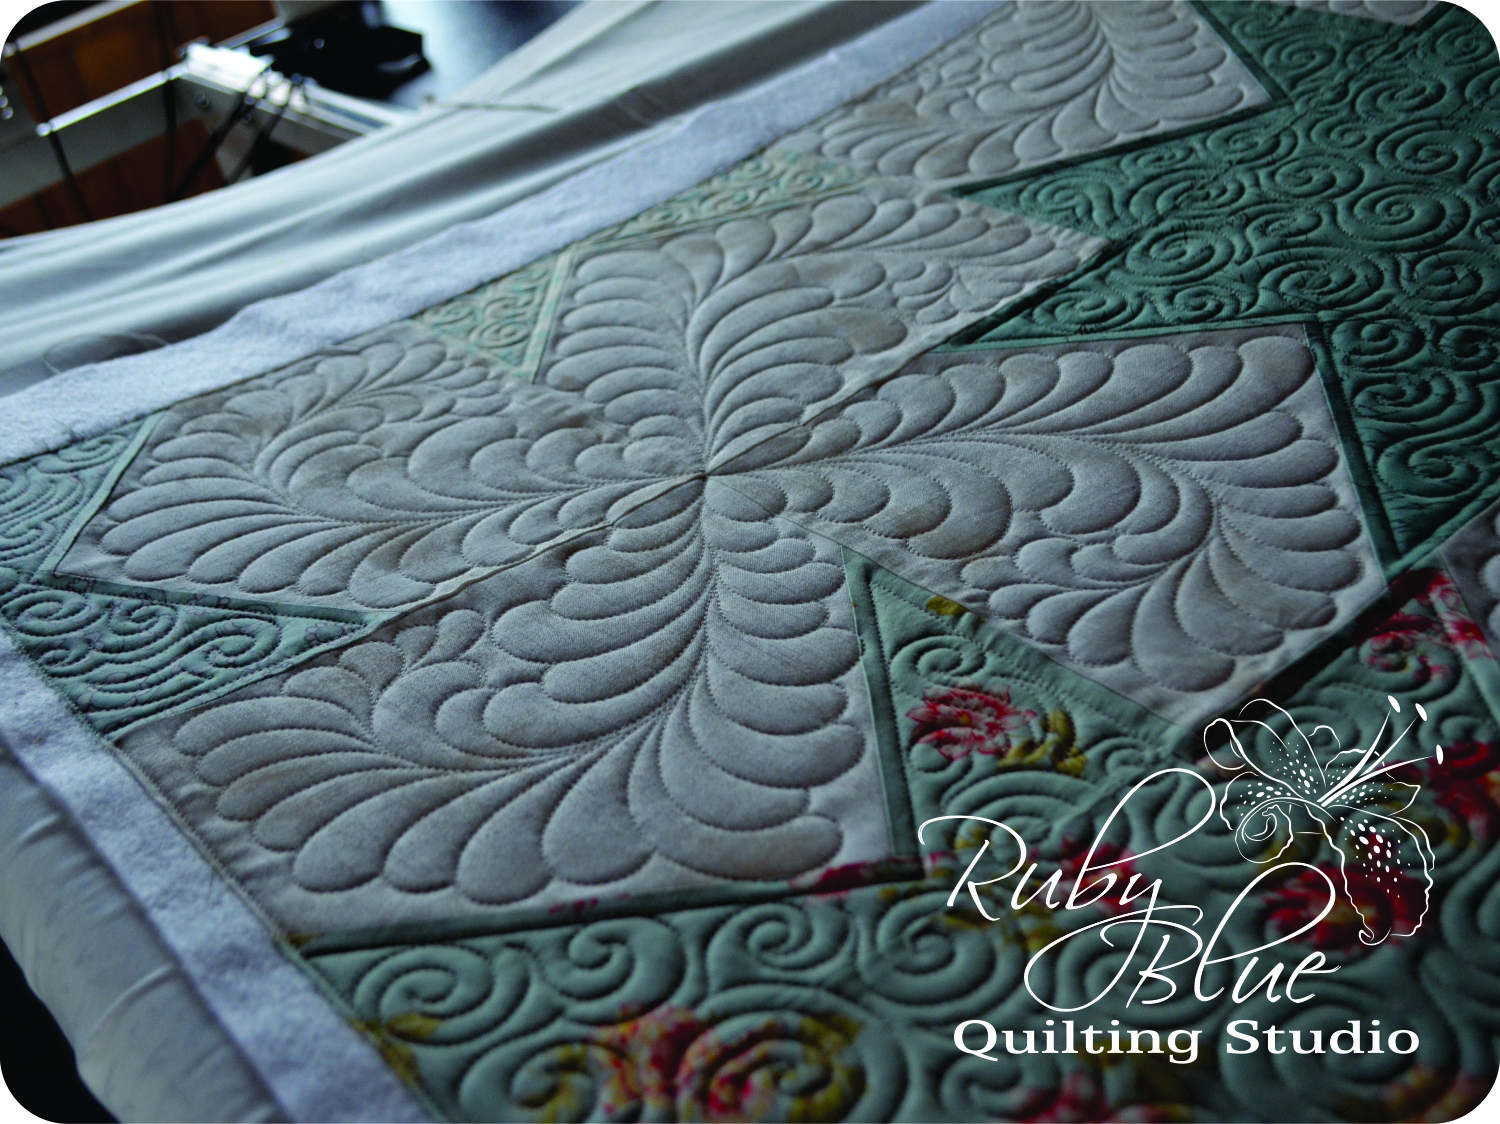
 Karen brought me this quilt along with another one she had quilted in the past with a pantograph. Well, I don't do pantographs but she really liked the way the feathers looked and wondered if I could do something similar and this is what I came up with.
 These feathers are loose and fun but they were a challenge for me at the start. When I normally quilt feathers I start at the base and work from the center of the spine out. With these feathers you still work from the base up but from the outside in. It was backwards to the normal way I quilt and took a little getting used to, but I did it.
 Since the feathers are nice and loose they were a perfect match for these wonky stacked strips in the quilt.
And here's how the feathers look on the back of the quilt. I think I need to do these more often! They're a lot of fun and pull me ever so gently out of my comfort zone which is a good thing!

Thank you, Karen! I love your quilts and the way you put colors together! 

9.27.2016

Machine Quilting: American Jane

There's something so classy and so timeless with a simple quilt pattern like this one.
 Denise made this quilt for her bed and told me to have fun with the quilting. This is the perfect simple canvas to go a little crazy with the quilting. It needed something more than just a plain all over design.
 Orange peels and large crosshatching seemed to be the perfect fit for the center of the quilt.
 And then there were a few borders to play with too.
 All of the elements had to work together, but they each needed to show off the personality of the area they were filling.
 I loved working on this quilt. It actually went much faster than I thought it was going to.
 I usually save the borders to the end so I can quilt them all at once rather than a bunch of little chunks and I couldn't wait to quilt them up. The double bubbles played off of the fabrics and helped separate the feathers and the geometric design.
 It's so colorful and pretty!
 I could stare at this quilt all day long.
 I love how the quilting looks on the back!
Here you can see all of the borders and different designs in the quilt. So much fun!

Thanks, Denise! I had a blast working on this quilt for you!

9.25.2016

Machine Quilting: Aqua Table Topper

It's finally here! The last of the aqua-y blue and grey quilts Bobette made. You can see the other quilts here, here, and here.
 This quilt was small and was a bonus made from the scraps from the other quilts.
 Trying to keep the designs similar to the other quilts, I created the same jellybean shapes as in this quilt and kept the feathers going as the tying element to all the quilts.
 This quilt was fast and fun to do!
It was hard to get all of the quilting to show up with the different angles and such, but here it is! A fun little table topper to finish off the room of quilts.

Well, there you have it. Five quilts, four different patterns, and a ton of feathers in the process. It was a fun challenge to make each quilt unique yet work with the other quilts like a little collection. It's not a challenge that I've come across before and may not again for a while, but that's the fun part of this job - I never know what will show up at my door and when. It keeps my brain challenged and keeps me on my toes. It's hard to get bored with a job like this!

Stay tuned for more quilts and I will attempt to have a Confessions post up for you on Wednesday!

9.24.2016

Machine Quilting: Blue Wonky Stars

Now this is the exact same quilt as in this post, just a change in the placement of colors. In these quilts (there were actually two of them made the same), the blue fabrics were planned in their placement rather than the scrappier alternate in the other quilt.
 Bobette made all of these quilts out of the same fabrics, all for a room she was redoing in her house. If I remember correctly one was for a couch, one on the wall, one on a table and these two today were to go on the beds for when her granddaughters came to stay. All different quilts, all the same fabrics but I had to keep all of the quilting similar yet unique to each quilt.
 I got off a little easy with these two since they were the same I just had to repeat myself on this pattern. I actually quilted it a little similar to the other quilt with the same feathers and swirls, just no dahlias in this version.
 I love how you can see the quilting in the white "flowers".
 A simple outline and swirls fill each of the stars.
 I LOVE this quilt too. Like many of them. I could quilt these forever and keep them all. I actually have a quilt drawn up and some fabrics cut to make a crazier version of this quilt. I just need a blizzard and a busy baby to get working on it maybe this winter. Or a babysitter or three...
 I love the feathers. I love the stars. I love the fabrics.
 I mean really, what's not to love?
And again on the back you can see all of the quilting really well.

So you saw the quilt for the couch, the quilt for the wall and these were for the beds. Next up is the little gem for the table. Come back tomorrow to see the little bonus quilt!

Oh and before I forget because I already got a couple more emails asking about the pattern for this quilt... I honestly can't remember the name of the quilt, but you can find the pattern in the book Modern Quilts from the Blogging Universe. It's a great book and you can find it here. Totally worth the cost if you make this pattern as many times as Bobette has!

9.23.2016

Machine Quilting: Blue Baskets

Here is another quilt for Bobette's room that she was redoing. If my memory serves me correct, this was going to be a wall hanging on a very large wall she wanted to fill. Keeping that in mind made me alter the quilting plan a bit, but it all worked out in the end.
 The reason I altered the quilting plan knowing this quilt was going to hang on a wall rather than be used on a bed or the back of a couch, it will have gravity fighting against it! I usually quilt wall hangings a bit on the denser side so you don't have puffy open areas that want to sag after awhile. Wall hangings just need a little extra support, like a bra - just in quilting form.
 These basket blocks were fun and the layout created this secondary pattern that I saw and took advantage of.
 These squished hexagon/jelly bean shaped areas with the straight line quilting were apparent to me as I was planning the quilting and I wanted to use them in the design. Rather than just a square basket block with sashing around it, this design blends two blocks together and keeps things a bit more interesting.
 You can see those jelly bean shapes better here. With a combination of lines and ribbon candy for the background, it really helped to make the baskets pop even more.
 I love this quilt. I know I say that about a lot of quilts, but I really do love them all. The blues in this quilt were a soft dusty aqua-y blue... So pretty without being boyish.
 I love quilting feathers in borders and turning the corners is my favorite. There was no other design that could finish off this quilt just like these feathers. Plus it tied in with the feathers on the quilt from yesterday - I think there were 5 different quilts in 4 different patterns that were all out of similar fabrics to all go in the same room. I tried to keep the quilts unique to their own pattern, but keep the designs similar enough so they all looked like a collection.
 This quilt almost looks harsh to me in photos, the actual quilt was very soft and cozy looking.
 Again, this is another quilt that the back looks just as good as the front (as it should!).
 I love how you can see all of the designs and know exactly what you're looking at without the need for the pieces on the front of the quilt.
So so pretty! I had as much fun planning the designs as I did quilting them out. There's still more quilts from this little collection to show, so come back next week for more!

9.22.2016

Machine Quilting: Flowers and Stars

Bobette was on a roll and made a ton of matching-but-not quilts for a room she was redoing. It'll take me a bit to get through all of the posts, so stick with me!

Oh, and on a sidenote, there won't be a Confessions post this week, but come back next week for another fun topic. Part of the reason being that my barely 6 month old started thinking about crawling less than a couple weeks ago, started crawling a week ago and is now pulling herself up on everything! I'm so not ready!!!

Back to the quilt for today. It's a beauty!
 You may recognize this quilt pattern, I've lost count of how many versions of this pattern Bobette has made and I've quilted, but you can see them here, here, here, and here. I think there's more, but that's enough for today. You get the point how versatile this quilt really is.
 Well, for this one Bobette wanted feathers and she wasn't sure exactly how. That part was up to me so I used the feathers in the "flowers" and had the feathers radiate out from the center and swirl to fill each quadrant. No two pieces are the same size and shape in this pattern, so the quilting has to be just as forgiving.
 In the stars I quilted a dahlia in the center and filled the background with swirls. A simple outline separates the stars from the flowers and makes the whole quilt work.
 Here's a better view of the flowers and stars working together.
 I LOVE this quilt!
It even looks great on the back! One of my main goals as a quilter is the back should look just as good as the front. Sometimes I joke that I like the backs so much you can get double use out of the quilt - it can be the quilt as you know it or a wholecloth if you flip it over and show off the back!

It was challenging in a good way to take this wonky style pattern and make the quilting a tad bit more elegant but still whimsical. Mission accomplished! Stay tuned for more of these blue-grey-quilts for Bobette's room! I'll post more photos soon! Now off to chase that baby!

9.09.2016

Tutorial: Feathered Cross-Hatched Block

It's here! Today I am going to show you the tutorial on how to create the block from the Green Vintage quilt I showed here. And the best part - it's all continuous - not a bunch of starts and stops to complete this look.
 So here it is. This block looks more complex than it really is and don't forget to check out the whole quilt to see how it creates a secondary pattern. I'm from the mindset of "work smarter not harder" and this block works perfectly in that plan. Let's get to it!
 I used my Quick Curve Rulers to create the outer curves. You can use whatever curved ruler you have, it just depends on the size of the block and the depth of the curve you'd like to create. I started by going all around the block with the curved line and then across from one corner to the opposing corner. (I guess I should note I started this in the bottom right corner because that's where I ended too and then I quilted the adjoining block too without another start and stop)
 I honestly don't remember exactly what size this grid was, but I want to say the lines were 3/4" apart. It really doesn't matter, it's more the technique I'm sharing here but then I traveled to the upper right corner following the curve as needed and stitching spaced lines.
 From that corner I then went to the bottom left corner.
 As before I went back and forth in alternating directions and stitching along the curved line as necessary to get to the top left corner.
 Then I finished off the one direction of lines going back to the bottom right corner.
 And finally I finished the grid going to the bottom right corner where I started.
 After that I started with the feathers traveling along the outer portion of the block. I do the bump type feathers - I quilt a starter feather, then another that tucks in behind the first, I travel back along the edge of the second feather and make a third backwards. I guess that might be better explained in another tutorial for another day.
 Continue around the block creating the feathers as you go. And done! Like I said above, I started this block in the bottom right corner so that I could then quilt the adjoining block without having to start and stop my threads again. The less starts and stops, the better. It saves a bunch of time and saves your fingers if you bury all of your threads like I do.
But here it is! This is how that block looked in the finished quilt. I couldn't be happier with how it turned out and it's so much easier to complete than you'd think. Sometimes especially with a cross-hatch pattern, you have to rethink the attack on completing it. By breaking the design into smaller bits and working in sections it gets done faster, easier and more accurate. Sometimes I have to keep that tidbit in mind when I'm planning a quilting design because it can be so easy to overlook the simple and obvious answer.

I joke that sometimes I figure out the best way to do a quilt when I'm either half done or almost done. It's one of those things where you learn as you go and sometimes you just have to do it a bit before the better alternative jumps out at you. I can drawn and doodle and plan for weeks and sometimes I'm just hours into a quilt when a better plan emerges. It happens that way and it's okay. It's all about the learning and growing process and evolving creatively.
Related Posts Plugin for WordPress, Blogger...