

Today I would like to show you a step by step tutorial on the Quilter's Knot. I
was taught this by my friend, Carol, as she taught me to hand quilt. It's a
really easy knot that once mastered, you can do in a fraction of a second! This
knot also has some great benefits to it that I'll go over after the tutorial.
* Please note these are the left-handed instructions. Just for you lefties out there!!! :]
* Please note these are the left-handed instructions. Just for you lefties out there!!! :]

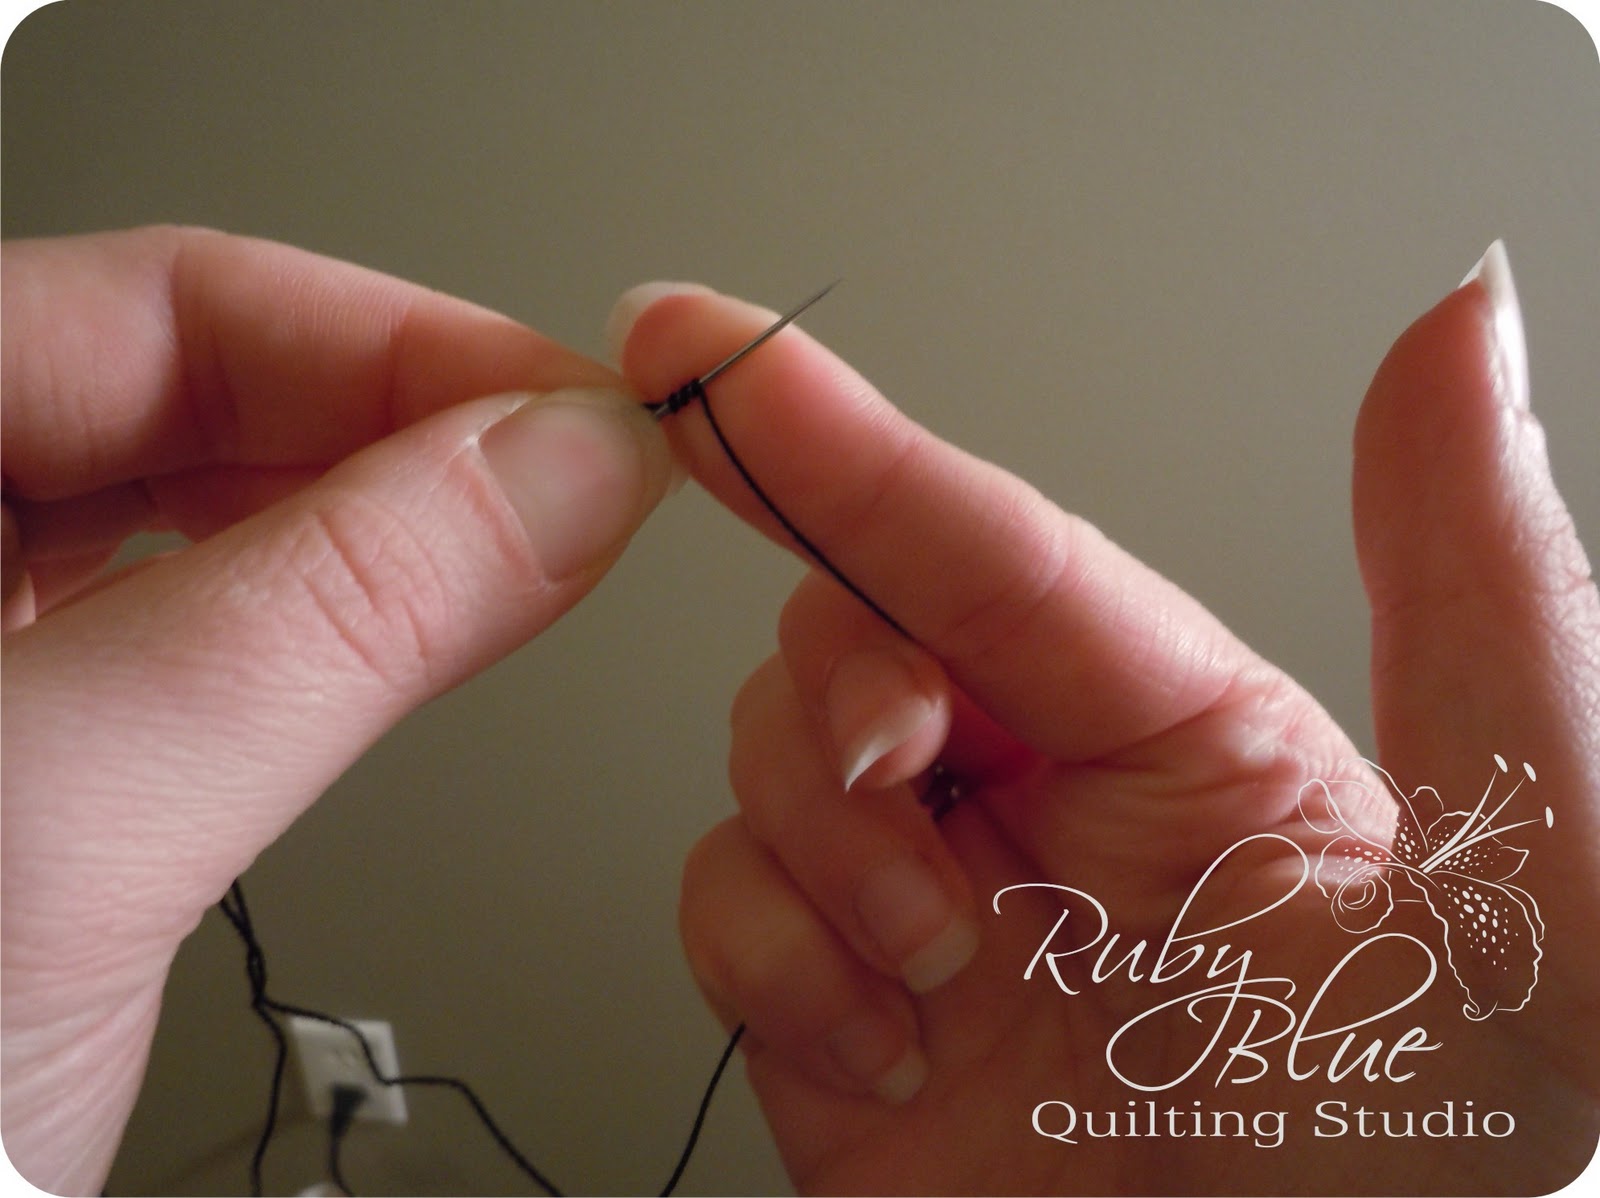
Step 1: Thread the
needle, then hold the needle and the end of the thread towards each other,
needle in your LEFT hand.


Step 3: Twist the thread
around the needle a few times (more on this step at the end).


This knot is very beneficial due to how it is made, with any pull against it will only strengthen the knot. This makes it wonderful for any aspect of quilting including embroidery, piecing, binding, etc.
Depending on the size of thread you are using, you may want to test the amount of times you circle the needle to get the appropriate size knot. Typically with Pearl Cotton I only twist once or twice around the needle where as Cotton Threads I may have 4 or 5 twists to get the right size knot.
There are several ways to knot your thread, but this seems the most simple and effective to me. I used to try other similar methods, but typically you would end up with a nice little rats nest at the end of the thread rather than a simple knot.
If you have any questions at all, please do not hesitate to ask, but try this knot out and I'm sure you'll fall in love with it like I did!
I am planning on doing a video tutorial on this as well in the near future, I just need a cameraman since both of my hands are a bit busy... I will post it soon and it might take some of the mystery out of this knot as well.
I've been using the quilter's knot for years and appreciate that you showed a left-handed version of the how-to.
ReplyDelete