First off, if you are coming from the first tutorial over at the
Moda Bake Shop, welcome!
Secondly, if you are looking for the giveaway,
click here. You have until Monday to enter!!!
Other than that I decided last weekend that it would be neat to do a smaller quilt out of the same design and fabric and post them together... and here they both are!
If you haven't been to the Moda Bake Shop yet,
click here to go to the larger quilt tutorial.
Same quilt, same design (mostly), same fabric, just smaller!This design features a Charm Pack rather than a Layer Cake. Here's what you'll need for this darling quilt:
1 Charm Pack (I used Reunion by Sweetwater - love those girls!)
Side Setting Pieces - 1/4 Yard
Small Border - 1/8 Yard
Large Border - 1/2 Yard
Backing - 1 Yard
Binding - 1/3 Yard
So as you can see this doesn't take much fabric at all, so if you happen to have a Charm Pack around, you might have enough of similar fabrics to make one of these up from your stash. Either that or you have the amounts listed so if you need an excuse to go shopping, you just might have to! hehehe!
Now let's get started! You'll need to separate the Charm Pack and mix the colors together (you know how they're all coordinated in the pack, well, we don't want that. Just mix them up and put them back in a stack)
So lay out one (or a few if you feel comfortable doing so) Charm Square on your cutting mat.
Trim it down to measure 4-1/2" across.
Then the 4-1/2" width into 3 strips each 1-1/2" wide. Set one aside, but not too far.
Trim 2 of the strips to measure 4" long.
Then from the same strips cut a 1-1/2" segment. This will yield (2) 1-1/2" square and (2) 1-1/2" x 2-1/2" pieces. Set each piece in a pile by itself as pictured below. We need all the pieces organized as you'll see below.
And the last strip trim to a 1-1/2" x 3-1/2" piece.
When laying out all the cut pieces, this is what it should look like. 2 piles of 1-1/2" squares, 2 piles of 2-1/2" segments and 1 pile of 3-1/2" segments. Now time to mix it up.
To get the colors matching in rings, restack the deck leaving one "ring" alone and switching the other two as shown. Maybe take one pile and bring the bottom 1/3 to the top and on the other take the top 1/3 to the bottom so all the fabrics are nice and mixed.
Start from the center with the smallest pieces. Sew a 1-1/2" square to another 1-1/2" square. Press all seams to the growing "ring" or to the newest sewn piece.
TIP - if you need to change a fabric at all due to pattern, color, whatever - change the oldest or already sewn piece. That way when you sew on the coordinating fabric in the "ring" you can chain piece and all fabrics will be right in order and save you time!
Sew on the coordinating 2-1/2" segment onto the block. Press to this new piece.
Sew on the last "ring" starting with the 2-1/2" segment.
Finish up each block with the last strip.
You should have 42 block that measure 3-1/2" square. Aren't they adorable?!
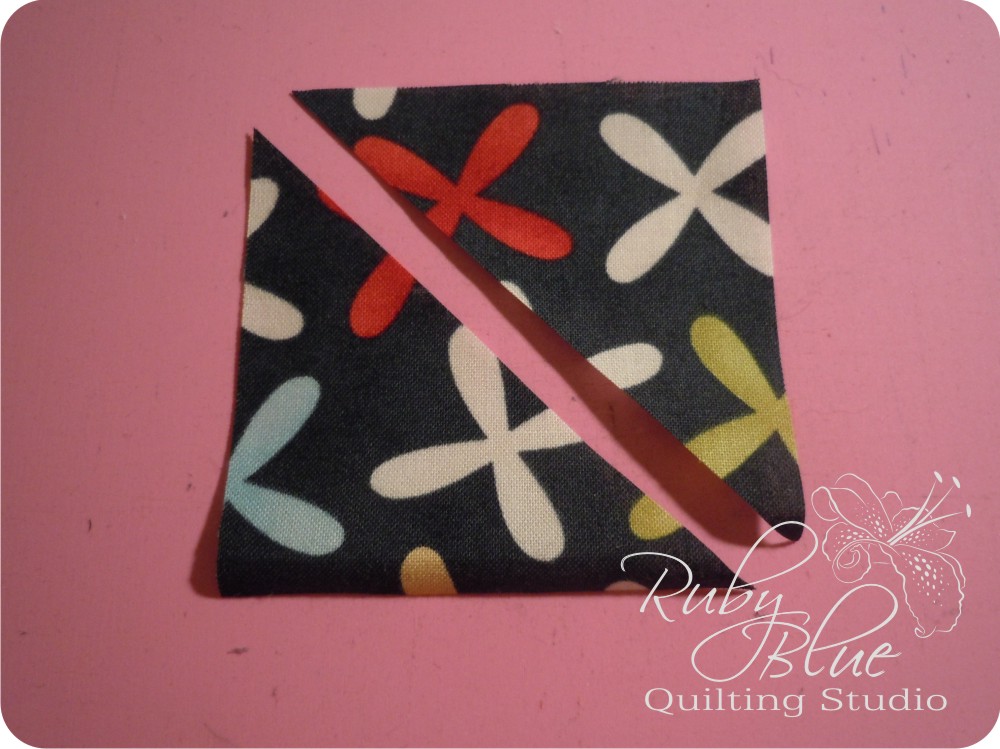
For the side setting triangles, cut a strip 5-1/2" wide from your fabric. Cut 4 squares each 5-1/2". Cut each of these pieces in half twice diagonally as shown above.
Be careful with these pieces. They have just been cut on the bias and bias is a four letter word for a reason. These will want to stretch or warp, but you can avoid that with as little handling as possible or a little spritz of some starch.
From the same strip cut 2 squares 3" square. Cut each of these in half once diagonally. These are for the corners.
You will only need 41 of the blocks for this layout. Lay them out however you see fit. I tried this design on the larger quilt, but opted for another one. Looking back at the pictures I took that day I kept thinking how this would turn out so I decided to use it for the smaller version.
Feel free to play around with these blocks, the possibilities are endless!
You're going to sew the top together in rows at an angle. Above I have row 1 (it's just 1 block) with the side setting triangles already sewn on, but I need to sew on the corner. I have pinned both the centers of the pieces to be sewn.
Align the pins when placing the fabrics right sides together.
Repin and sew! You'll see a better shot of this piece once it's sewn and pressed below.
Here is a shot of all the blocks sewn in rows and then sewn together but 1, pay attention to the direction of the side setting triangles and notice row #5 doesn't have the corners on yet.
I find it easier to sew the corners onto rows after making the rows. On the smaller pieces like shown above, it's easier to handle a smaller piece, so I've already sewn on 2 corners, but the last 2 are much easier to put on after the top is put together. It saves many headaches, trust me.
So, here's a better shot of the corner fully assembled. If you're piecing and pressing are accurate, the edges of the side setting pieces should all line up perfectly.
To add the borders, first start with the smallest one. You will need to cut 3 strips 1-1/2" wide.
The larger border requires 3 strips as well, cut at 4-1/2" wide.
Quilt how you see fit, add the binding and you will have:
An adorable quilt that will finish at 31" square! Just darling!
I quilted this almost the same as the larger one, just in a smaller design. I think they both turned out adorable.
So, what do you think? Two quilt tutorials both in the same day? I hope I didn't put your brain on overload - however I think I need more coffee.
Inquiring minds want to know, which size would you like to do? I'd love to hear your thoughts!
If you have any questions at all or finish one of these quilts and would like to send me a picture I will be sure to post it on here, just e-mail me at rubybluequilts (at) gmail (dot) com.
Thanks and have a great weekend!


Thank you for 2 awesome tutorials!!!! I have charm packs and layer cakes. I think I would start with a layer cake version. Have a great weekend!
ReplyDeleteI plan to make the big one since it's better for snuggling, but this one's cute too! Thank you for both tutorials -- your instructions and photos are great!
ReplyDeleteGreat Tutorial.
ReplyDeleteI like the big quilt but I absolutely adore the little one! Not sure what I would do with it, but it's too cute to ignore - I have a DOgwood Trail charm pack..... thanks for the great tutorial.
ReplyDeleteBoth of these are awesome quilts. It's wonderful to see such a great looking quilt being made from a charm pack. I bought a lot of charm packs early last year and then wasn't sure what to do with them. I just loved the fabrics so much but couldn't afford to buy yardage or even layer cakes or jelly rolls of them so I started collecting charms.
ReplyDeleteThank you for these tutorials.
Both tutorials are great - thank you!! I think I'll try the small one first.
ReplyDeleteI'm working on your 'I'll Zig you'll zag' from Moda Bake Shop, and would love your opinion on my layout options: http://summersadie.wordpress.com/2012/01/16/imagination-station/
ReplyDeleteI really like your color combo much better than what mine is turning out like.
I am makings the small version with Benartex Crazy Daisy, Looks good so far!
ReplyDeletei just love your tutorials. They are so easy to follow, and pictures that are so clear. Thanks
ReplyDelete