It's here! Today I am going to show you the tutorial on how to create the block from the
Green Vintage quilt I showed here. And the best part - it's all continuous - not a bunch of starts and stops to complete this look.
So here it is. This block looks more complex than it really is and don't forget to check out
the whole quilt to see how it creates a secondary pattern. I'm from the mindset of "work smarter not harder" and this block works perfectly in that plan. Let's get to it!
I used my
Quick Curve Rulers to create the outer curves. You can use whatever curved ruler you have, it just depends on the size of the block and the depth of the curve you'd like to create. I started by going all around the block with the curved line and then across from one corner to the opposing corner. (I guess I should note I started this in the bottom right corner because that's where I ended too and then I quilted the adjoining block too without another start and stop)
I honestly don't remember exactly what size this grid was, but I want to say the lines were 3/4" apart. It really doesn't matter, it's more the technique I'm sharing here but then I traveled to the upper right corner following the curve as needed and stitching spaced lines.
From that corner I then went to the bottom left corner.
As before I went back and forth in alternating directions and stitching along the curved line as necessary to get to the top left corner.
Then I finished off the one direction of lines going back to the bottom right corner.
And finally I finished the grid going to the bottom right corner where I started.
After that I started with the feathers traveling along the outer portion of the block. I do the bump type feathers - I quilt a starter feather, then another that tucks in behind the first, I travel back along the edge of the second feather and make a third backwards. I guess that might be better explained in another tutorial for another day.
Continue around the block creating the feathers as you go. And done! Like I said above, I started this block in the bottom right corner so that I could then quilt the adjoining block without having to start and stop my threads again. The less starts and stops, the better. It saves a bunch of time and saves your fingers if you bury all of your threads like I do.
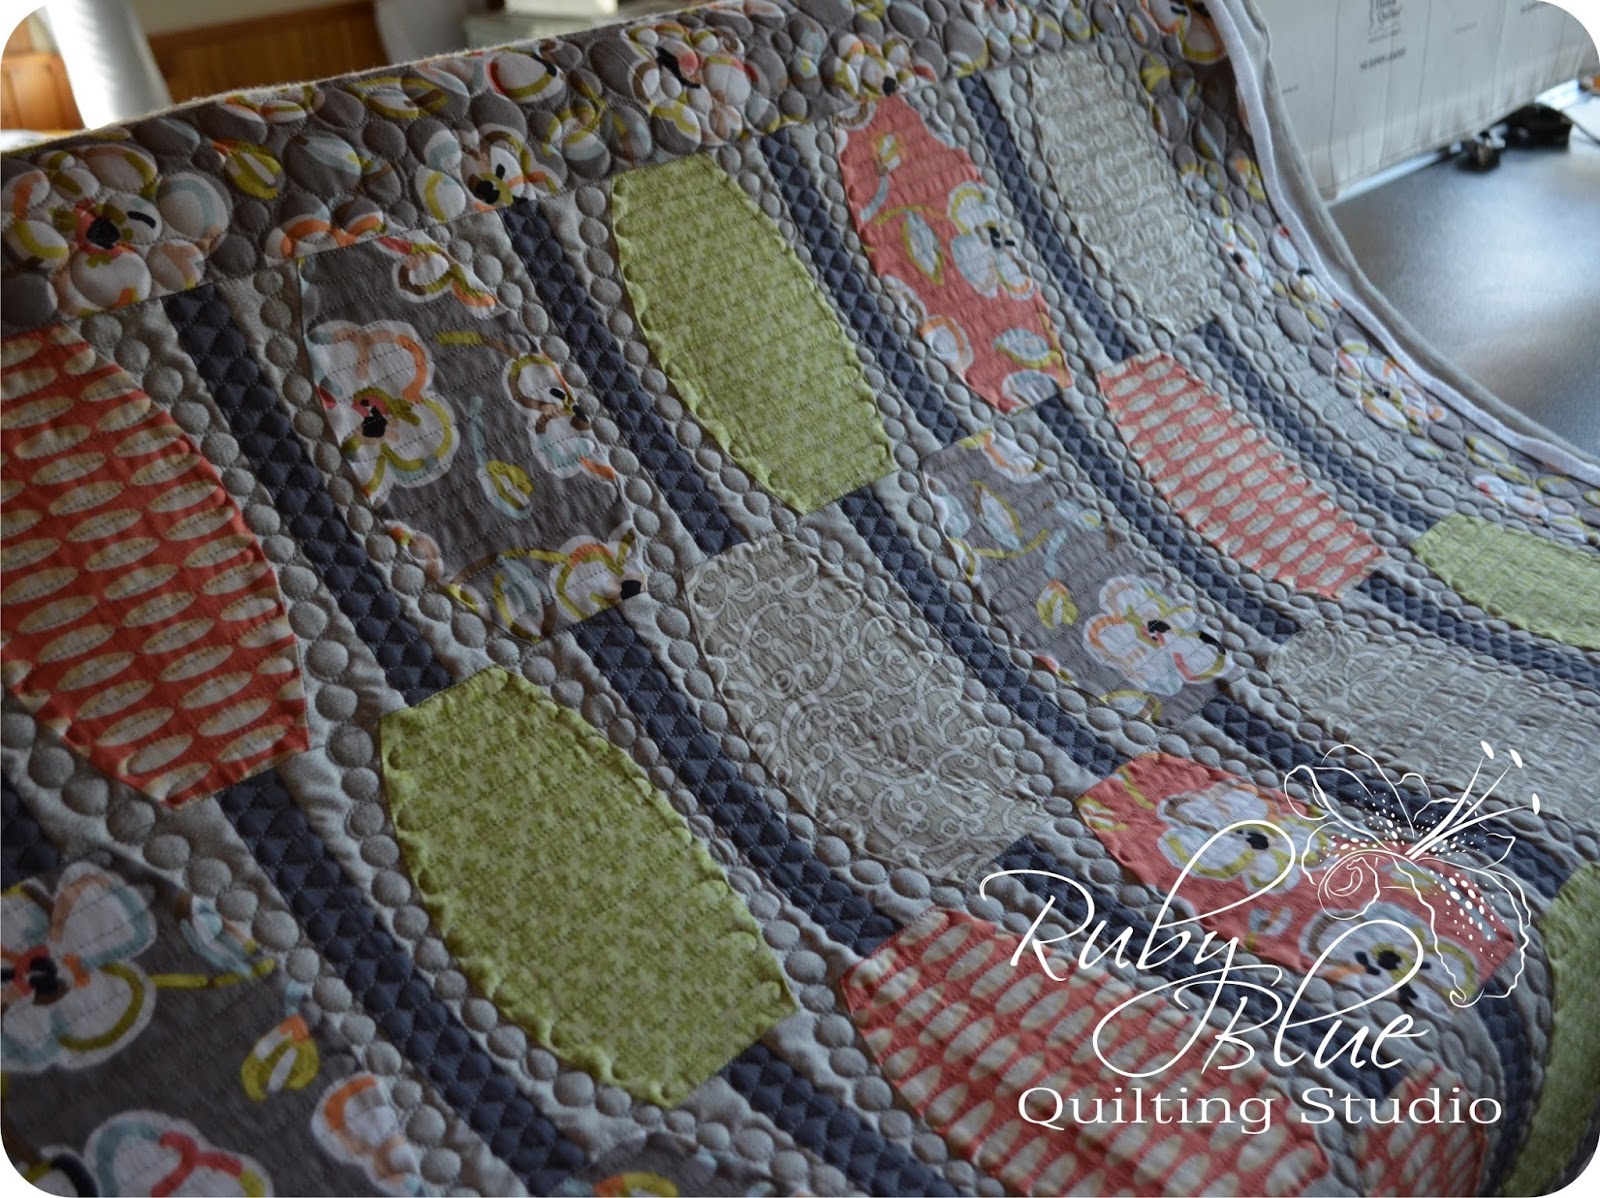
But here it is! This is how that block looked in
the finished quilt. I couldn't be happier with how it turned out and it's so much easier to complete than you'd think. Sometimes especially with a cross-hatch pattern, you have to rethink the attack on completing it. By breaking the design into smaller bits and working in sections it gets done faster, easier and more accurate. Sometimes I have to keep that tidbit in mind when I'm planning a quilting design because it can be so easy to overlook the simple and obvious answer.
I joke that sometimes I figure out the best way to do a quilt when I'm either half done or almost done. It's one of those things where you learn as you go and sometimes you just have to do it a bit before the better alternative jumps out at you. I can drawn and doodle and plan for weeks and sometimes I'm just hours into a quilt when a better plan emerges. It happens that way and it's okay. It's all about the learning and growing process and evolving creatively.