I always wanted to see the sights of the city by night, but there's a problem with that (or a few).
1. They're spread all over the city. The Eiffel Tower alone from our hotel was a 2.5 mile walk.
2. There are buses but they stop running (the sight seeing ones) at like 6pm. It doesn't get dark until 9 or so.
3. There is the Metro system, but it's mostly underground and you'd miss the little details and such.
Well, luckily Ben and I were walking around visiting some sights and we stumbled across this super touristy night bus tour of the city. The best part about it was it was cheap (relatively) and it went to all the attractions we wanted to see and more. Sign us up!
The bus picked us up right around the corner from our hotel and off we went. We left about 9:30 at night (I think) and the sun was just starting to set behind the Louvre:
This is the East End of the Louvre and you can just see the light fading behind it as we waited for the bus.
This church is just across the street from the East End of the Louvre and I got TONS of pictures of it.
(Note: I took most of these pictures at night on a moving bus so please forgive me if some of them are a bit out of focus...)
Before you knew it, the bus came and we were crossing the Seine and admiring the City of Lights.
We drove past Notre Dame which is soooooo much more inspiring at night. Those towers!!! This is one of the views I wanted to see the first time we went to Paris and never made it.
Then we drove around some more and I got some neat shots of buildings. This is part of the Military Academy or Armory I think...
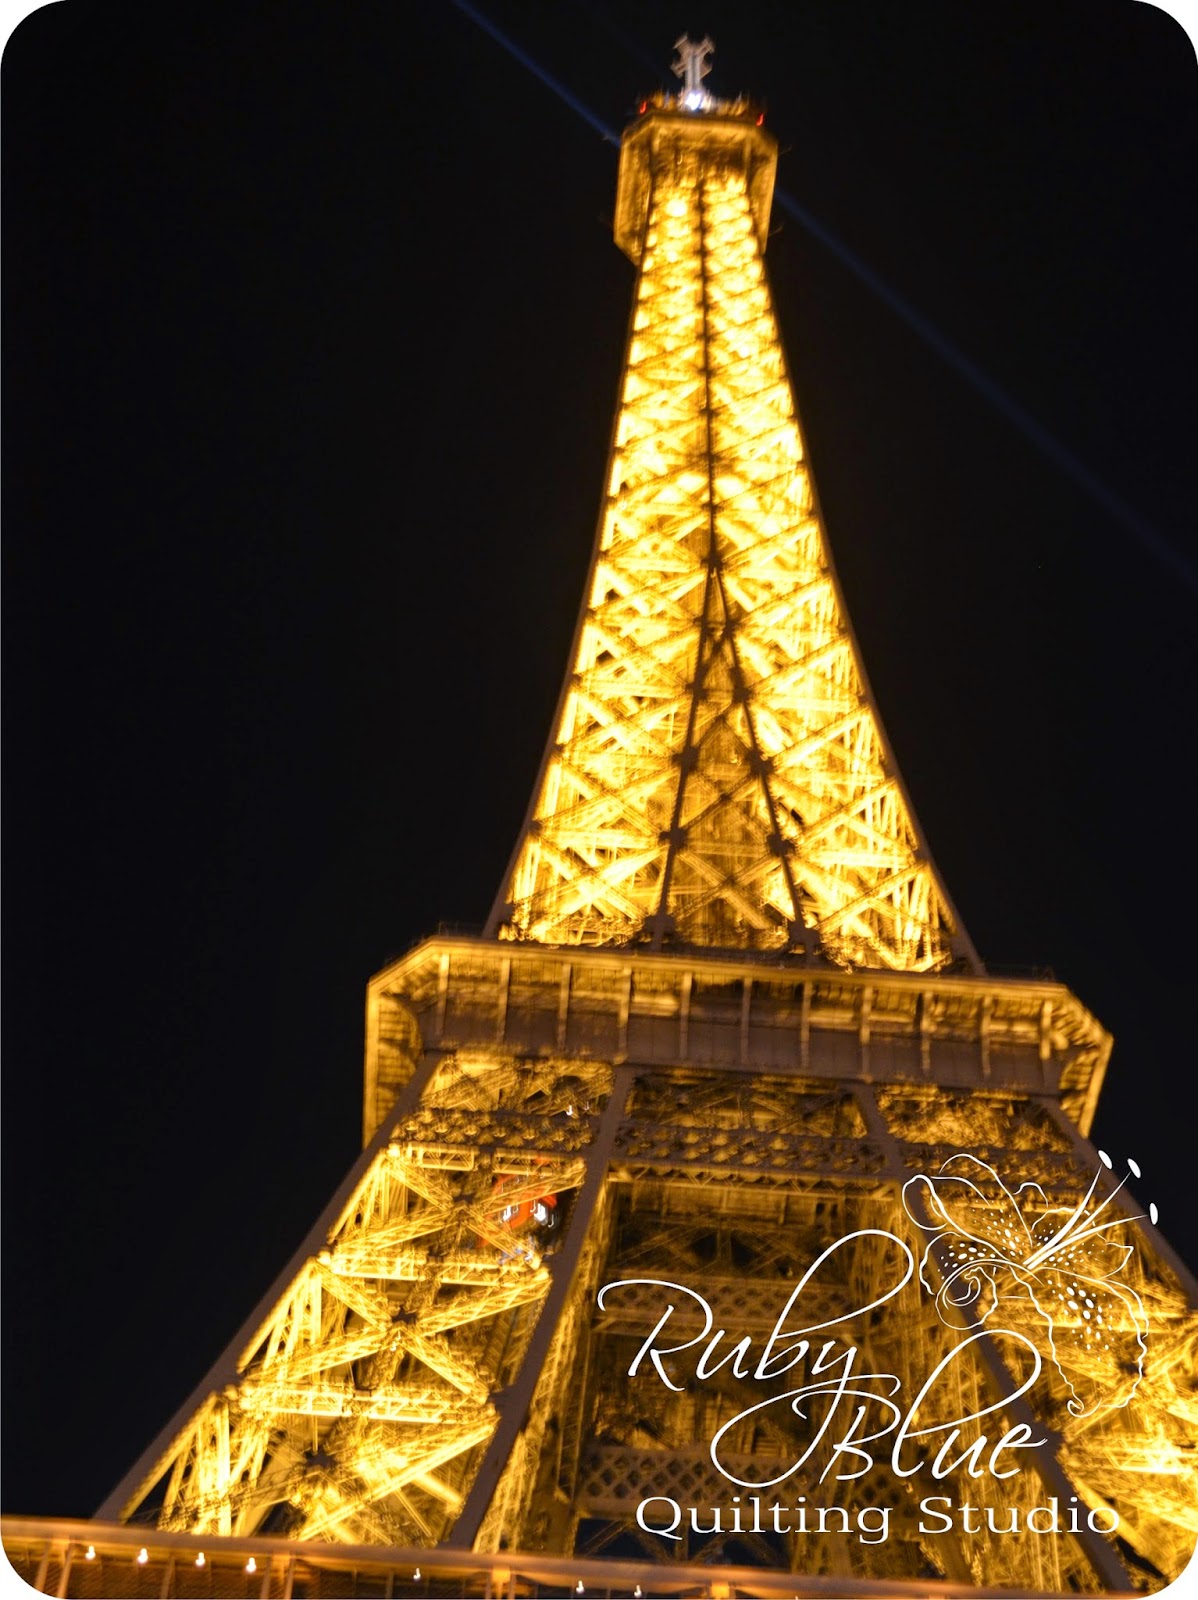
Then we made it to the Eiffel Tower. We parked on the South side and basked in it's glory.
At first the view was a little obstructed due to this plastic cover on the second story of the bus... But then...
They retracted the roof just in time to see the Eiffel Tower sparkle. This was another view I wanted to see. When we went before, it was not tourist season and they only turn on the sparkly lights for a few minutes each hour if at all so we missed it. When the sparkling started, the whole bus - including myself - went silent followed by an on cue gasp of beauty. I took video so I can remember what that few minutes was like for forever (or if I want to take a little virtual vacation).
Then we drove around to the North Side and we were REALLY close. Can you imagine having to change those light bulbs??? Oh, and did I mention this was mid April at night. Which meant the low was around 38 degrees Fahrenheit... Up til this point it was all good on the bus because even though the sides were open, the retractable roof kept us a bit warm... Not so much from here on out.
Then were turned onto the Champs Elysees. It's soooo pretty at night. You can see even more into the shops and the restaurants than you can in the day.
At the end was the towering Arc de Triomphe. It still baffles me how large this is. See the little people down to the left bottom corner...
Somehow the photography gods were with me and I got this amazing shot of one of the designs on the walls.
Then we passed by one of my personal favorite spots in the entire city, the Opera Garnier. We got to tour this amazing building the next day and it's even better than I imagined. There will be another post for that later.
And then we ended at the magical Moulin Rouge right before showtime. Can you see all of the people waiting to get in? That canopy is probably 30 feet deep and it was jam packed with people and there were plenty more around taking pictures and selfies before the show. I can't believe I actually got to see this sight, let alone at night. The buzz around this place was contagious.
Luckily then most of the sight seeing was done and the roof was closed on the bus. Granted, most of the remaining tourists headed for more shelter and warmth on the lower level, but the brave couple ahead of us was from Hawaii. They were both dressed in parkas and winter clothes and they were still freezing. Heck, I was freezing. By this point of the night after taking lots and lots of pictures, my little pinky finger was numb. It was chilly but it was soooo worth it.
Then we ended the night with a drive around the rest of the Louvre and I finally got to spot where that blasted upside down pyramid is. It's inside a bunch of hedges in the middle of a roundabout. Oh, and you can't stand on it, thanks, Tom Hanks, you ruined my desire to do that. Oh well.
So, by the time the tour was done, we were freezing, my camera battery was barely holding on and it was late, but I would take that tour again if I could. It was amazing and it wasn't anything we would have been able to see if left to our own ingenuity.
On the way back to the hotel, Ben and I passed over a vent for the Louvre that was releasing the most wonderful heat that helped thaw us before we got back to the hotel. We missed dinner that night and I think we ended up munching on our snack of pop, chips and candy bars we picked up at the local grocery store while trying to get warm after the chill had set into our bones on the long open air tour of the city. It was a great night I will never forget.
I think I'll do one last post of Paris pictures, maybe two if I can't narrow down my choices since I took so many pictures, but come back for those later. I'll post some quilty stuff in the meantime. I hope you enjoyed the tour!